High-resolution digital camera with 2.8mm lens.
Zoom camera with 30X optics and low light capabilities.
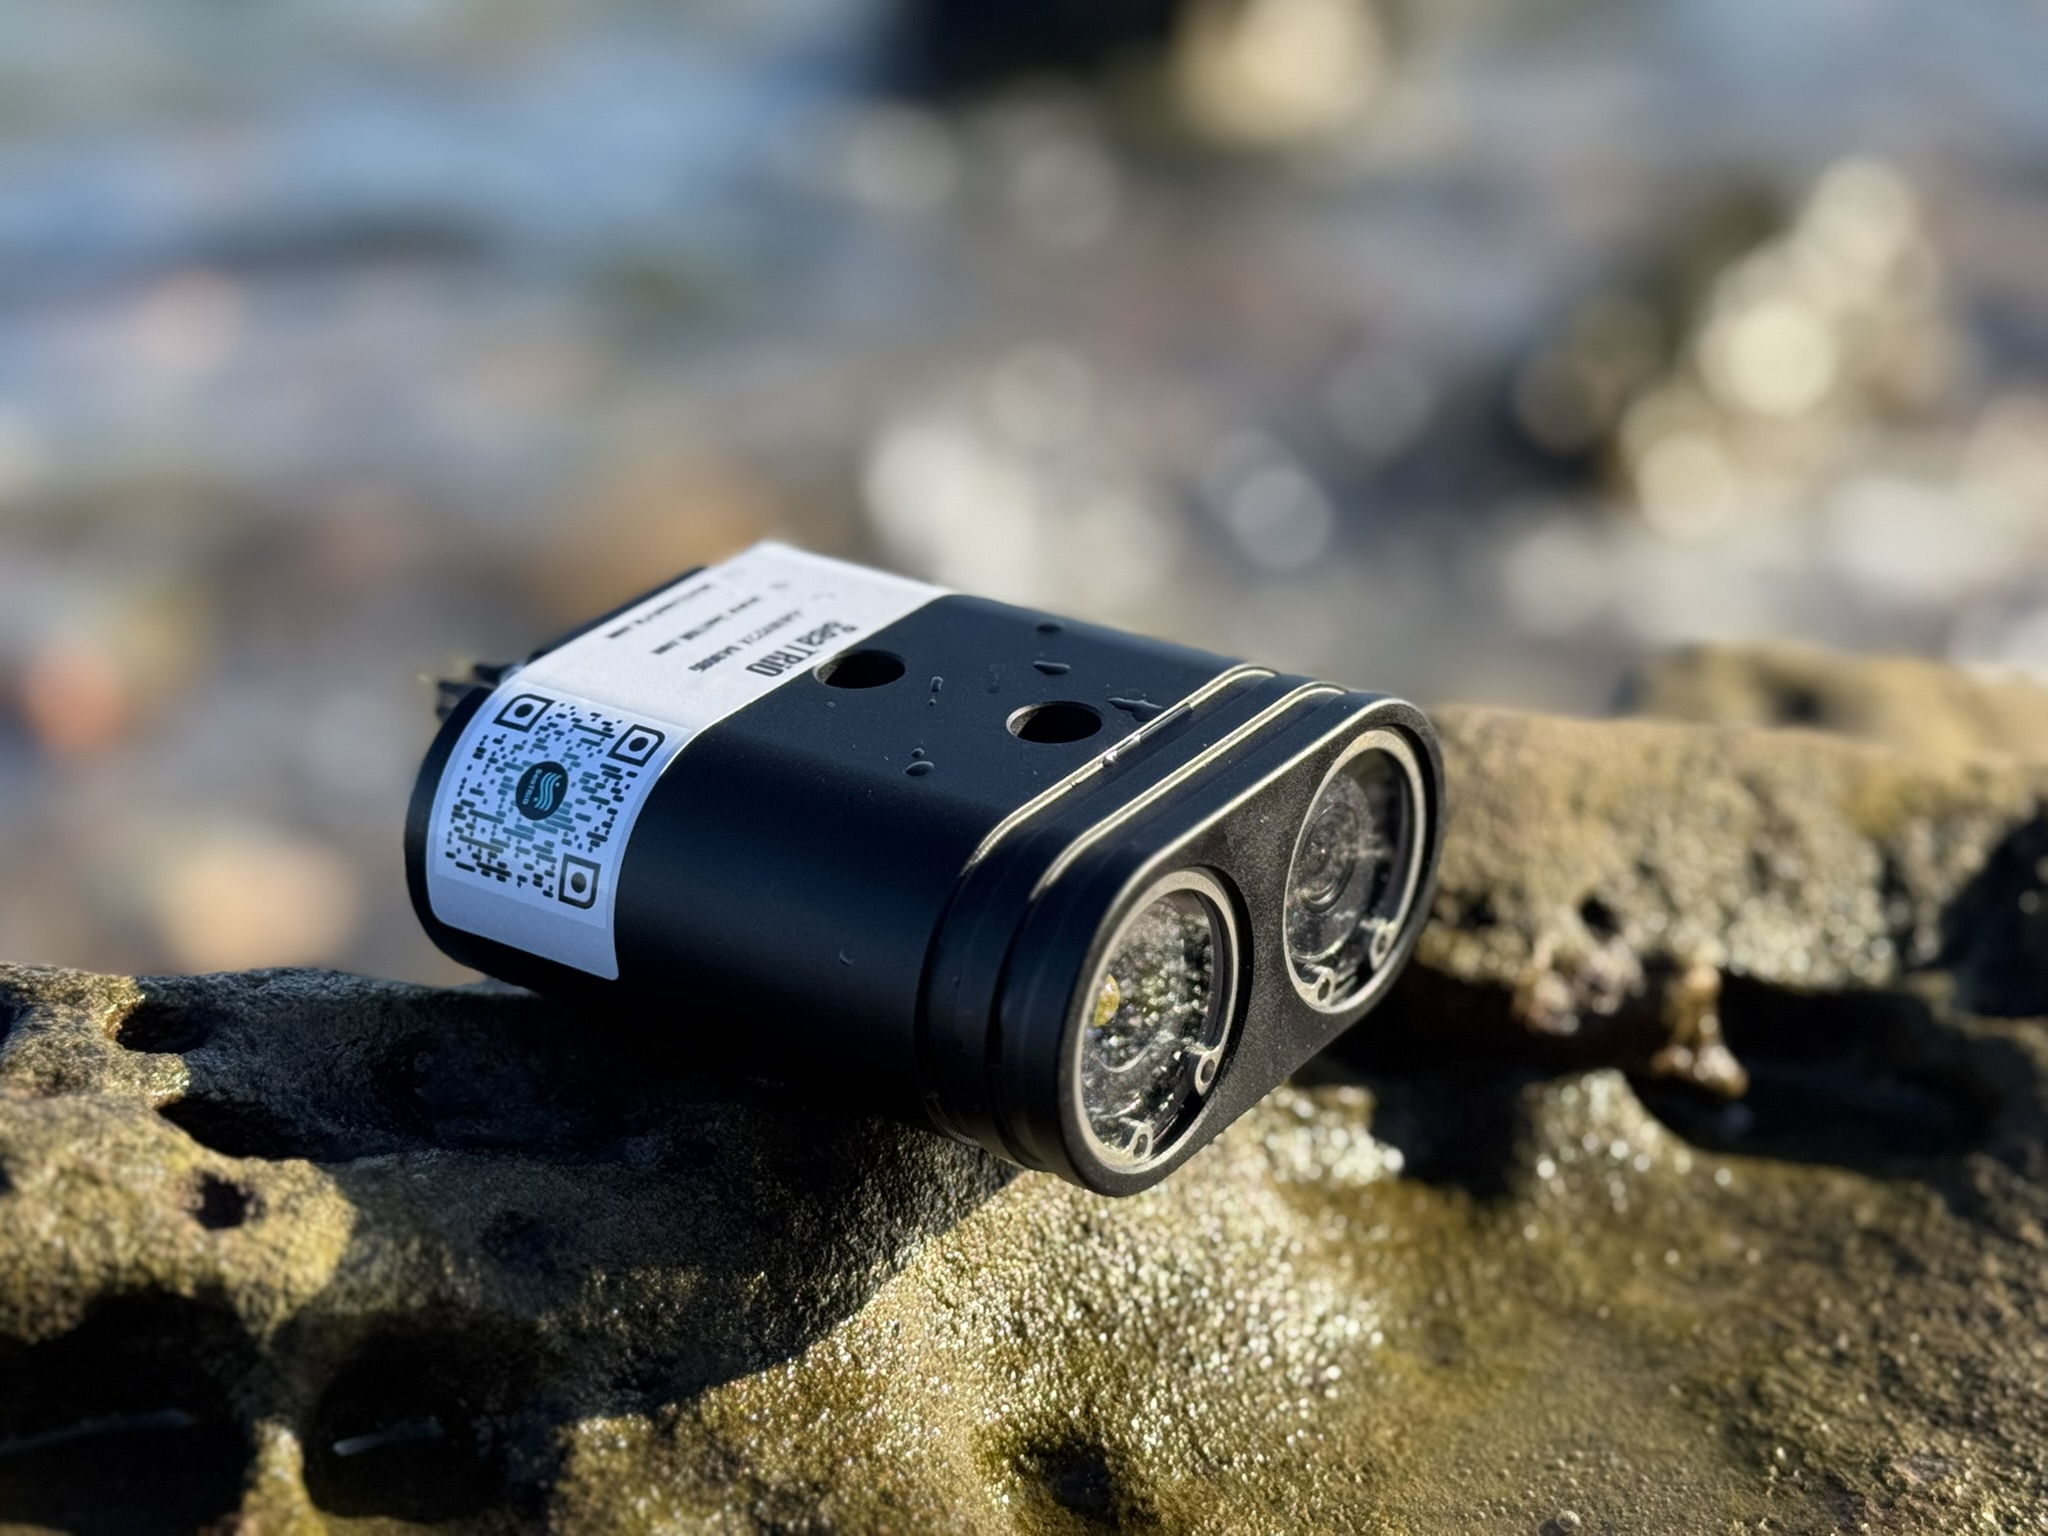
Fix focus camera with integrated light.
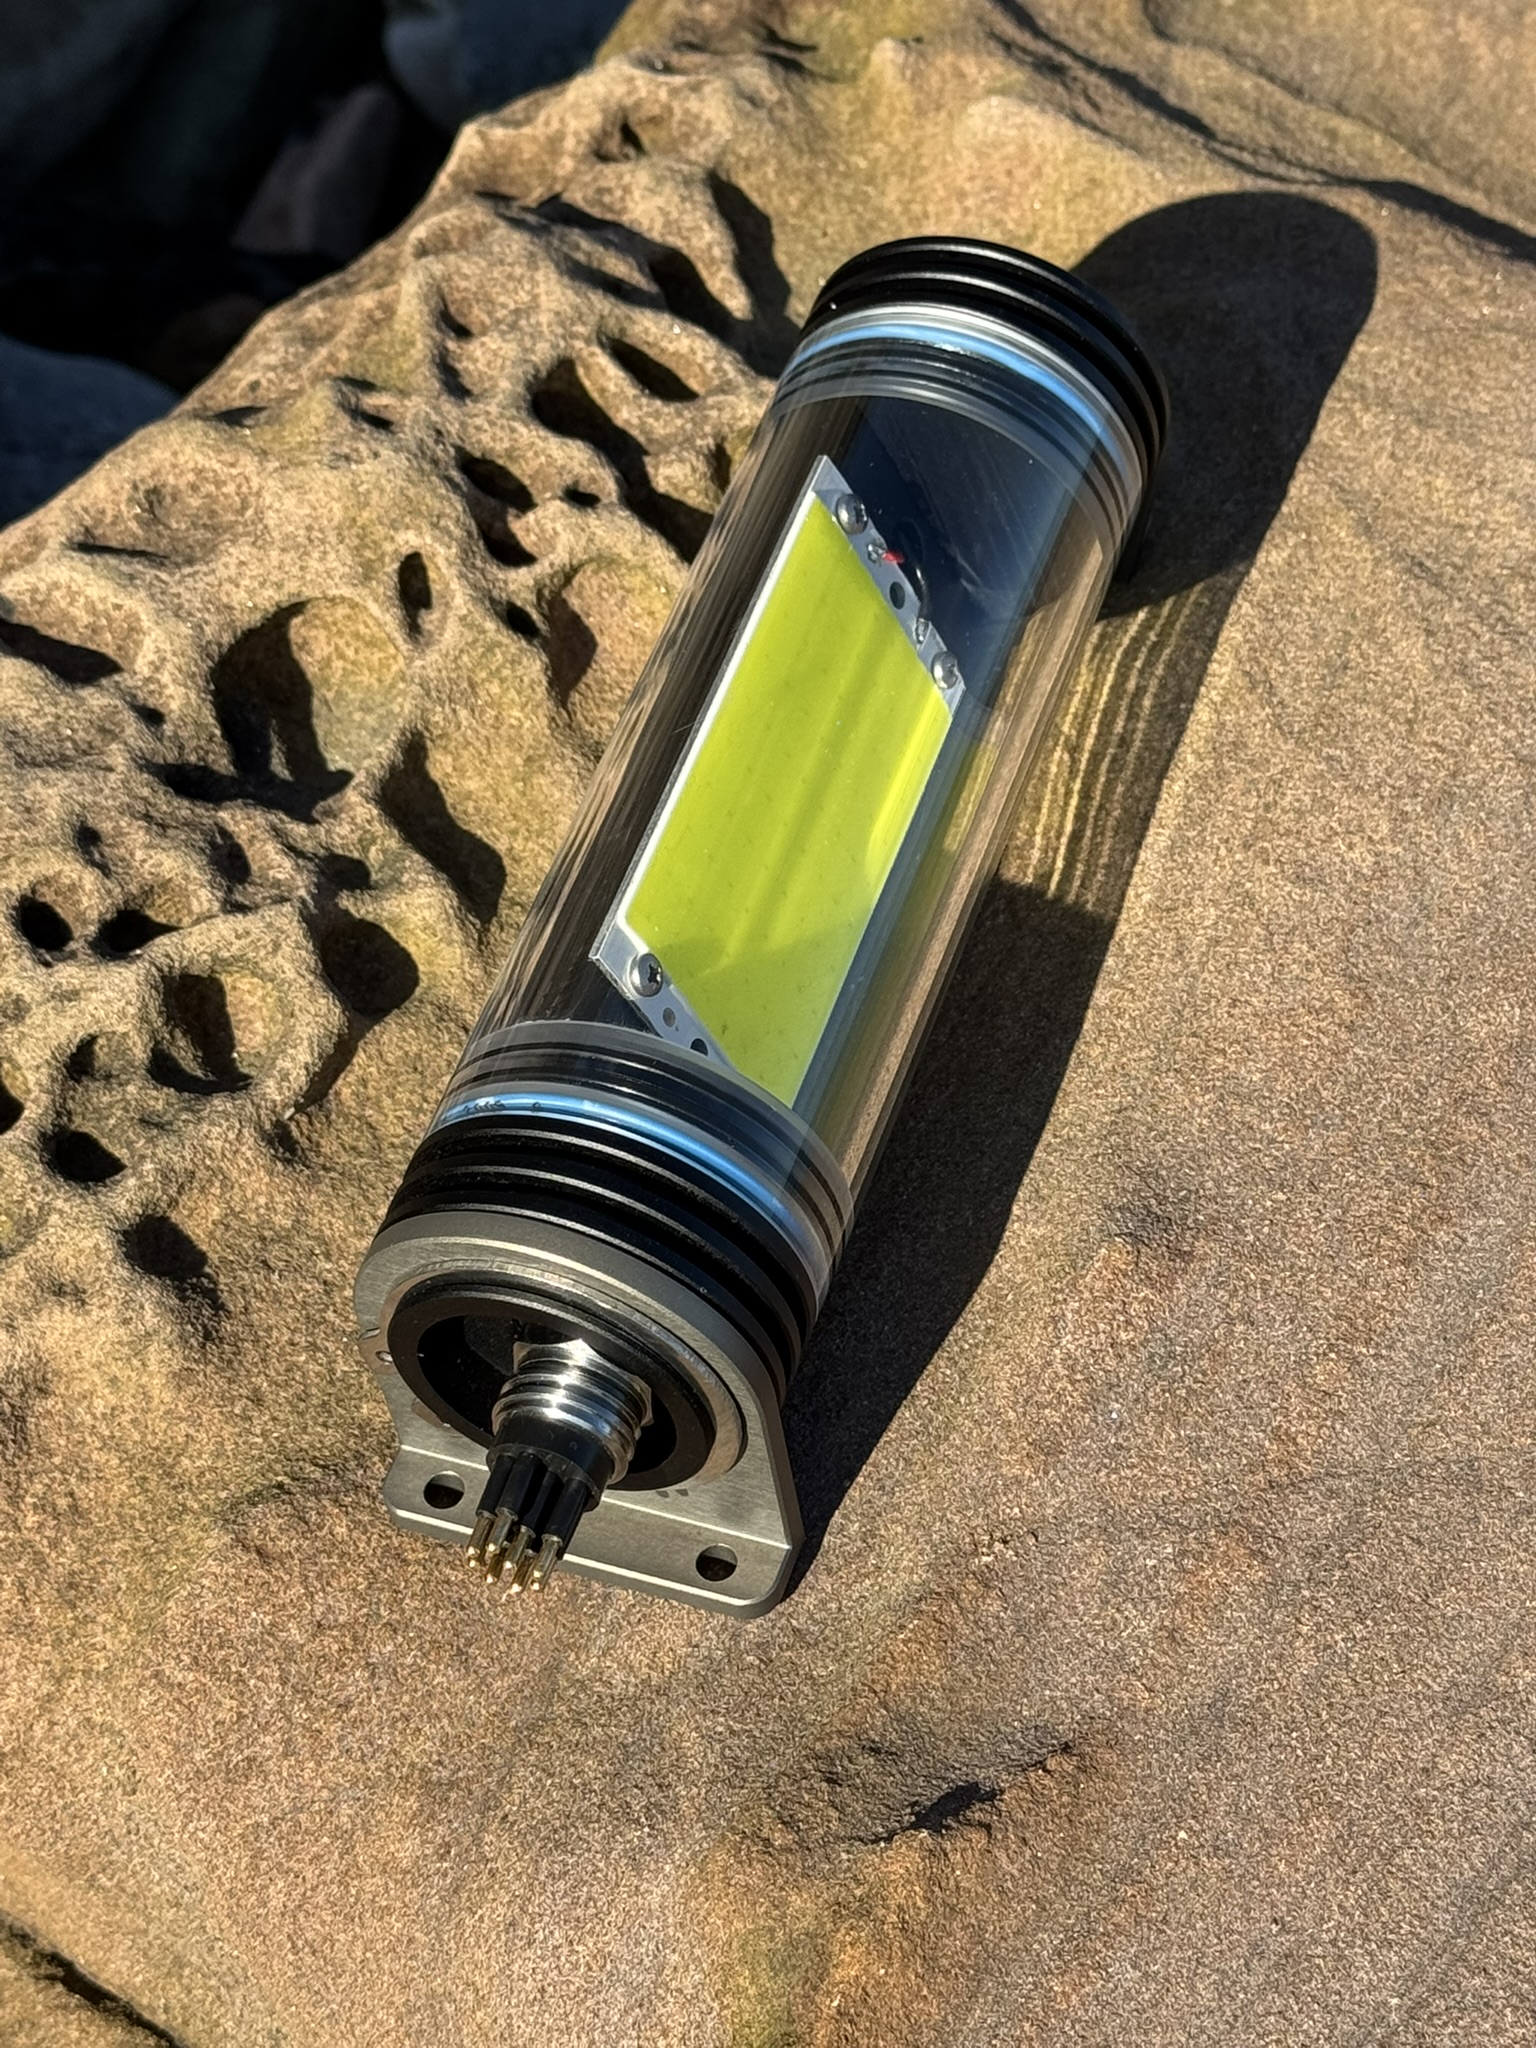
Flood light with 2000 lumens.
Ethernet network switch with controlled power
Ethernet network switch
No products match your search. Try different keywords or categories.